I am not big on Valentines Day as an adult, but oh how I did love it as a child. Spending hours with my mom crafting cute heart shaped Valentines and making sure to spell each classmates name correctly. The anticipation of passing them out and the worry if I would get any in return. Siting for hours and pouring over all my school valentines reading each little message. Bliss I tell you.
Now that all three of my children are in school I still love the idea of the homemade Valentine but I am starting to look longingly at the store bought ones too. Sometimes handmade is just really hard. Like 75 homemade Valentines hard. That's a lot of paper and glue and in our case rocks.
This year all three children decided to make wishing stones. Soren (age 7) wanted to put a message on her rocks. So she stamped the phrase "U Rock" or the word "love" on the back of hers. This was a very long long process that neither of us enjoyed very much. We used individual letter stamps and it took forever...shan't be repeated. No pictures were taken.
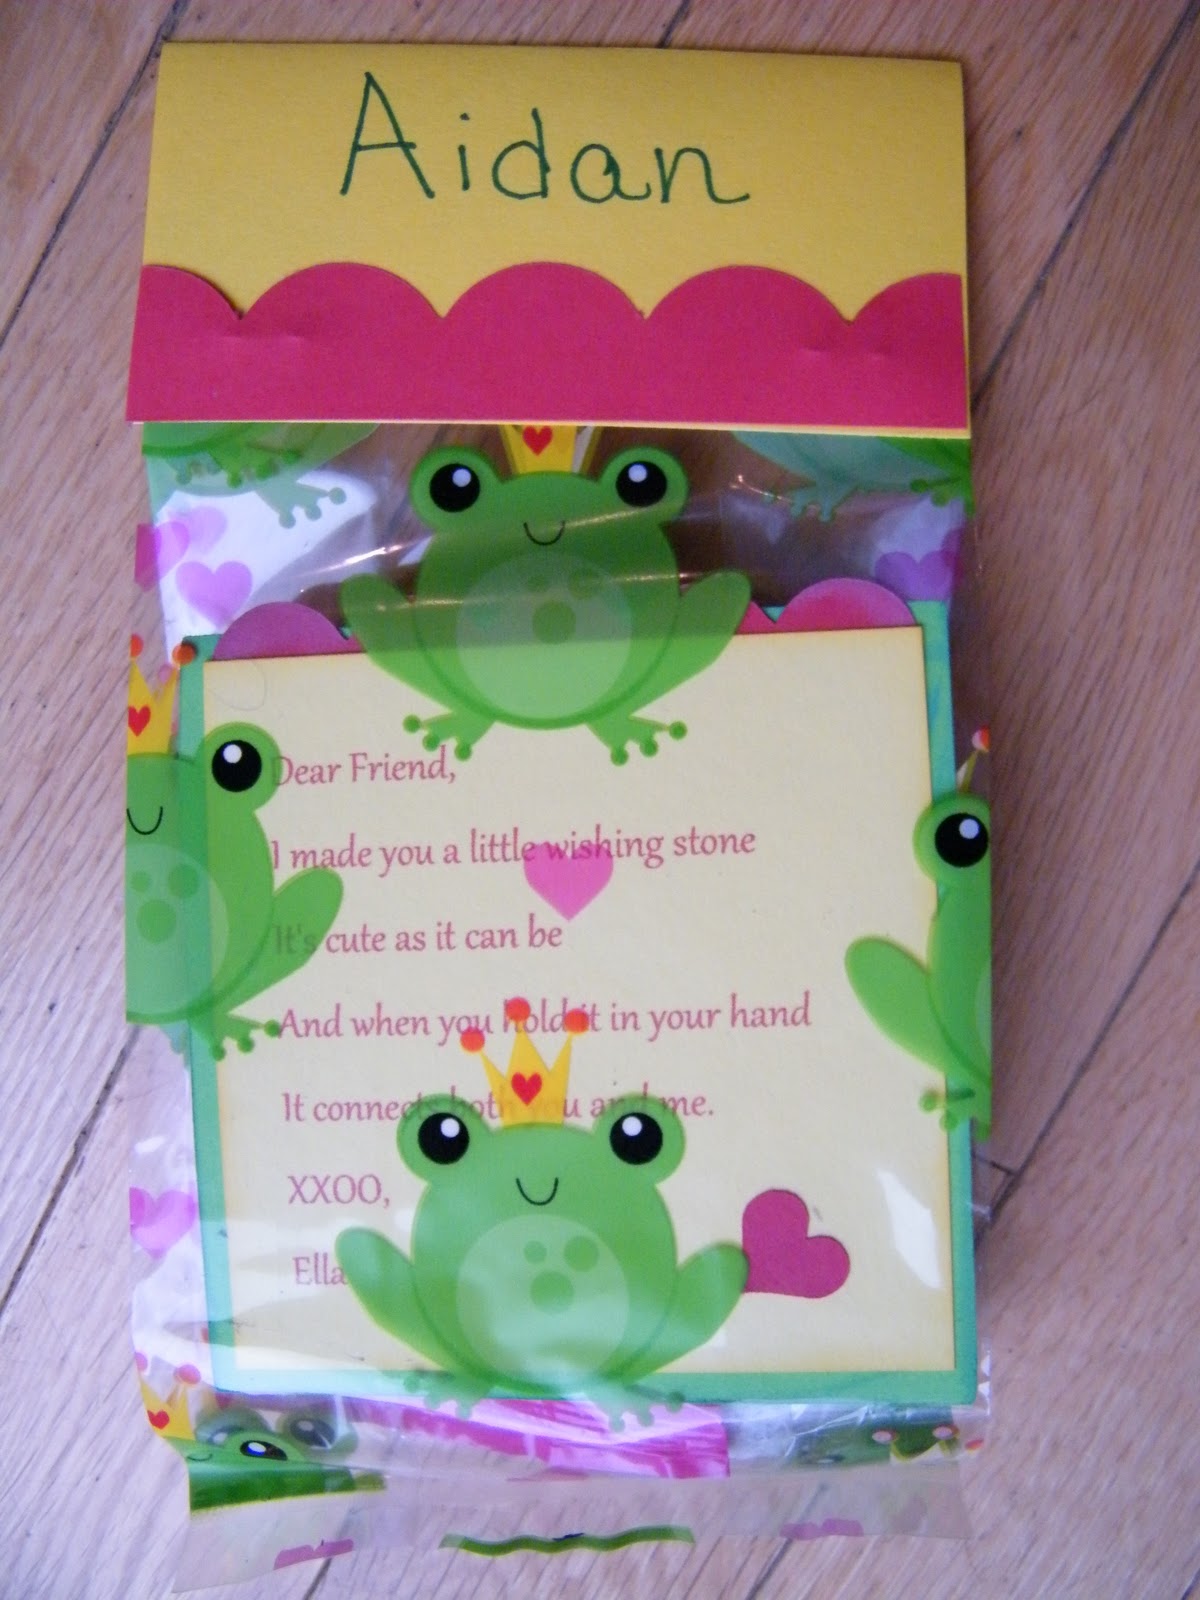
Dunn & Ella stuck with each classmates initial and this was a blast. For Ella (age 4) it was wonderful to look at each child's name and then find a letter sticker that matched the first letter. This task was a snap for Dunn (age 6) and he was able to do it all on his own (love that).
After the kids put their stickers on they sealed the rocks with Liquitex Acrylic Gloss Medium & Varnish. ModPodge would have worked equally as well but I had the Liquitex on hand so that is what we went with. They sealed the sticker side first using a small foam brush. The Liquitex dries in about 5 minutes so by the time they did one side of the stones they could flip them over and do the other side with no waiting.
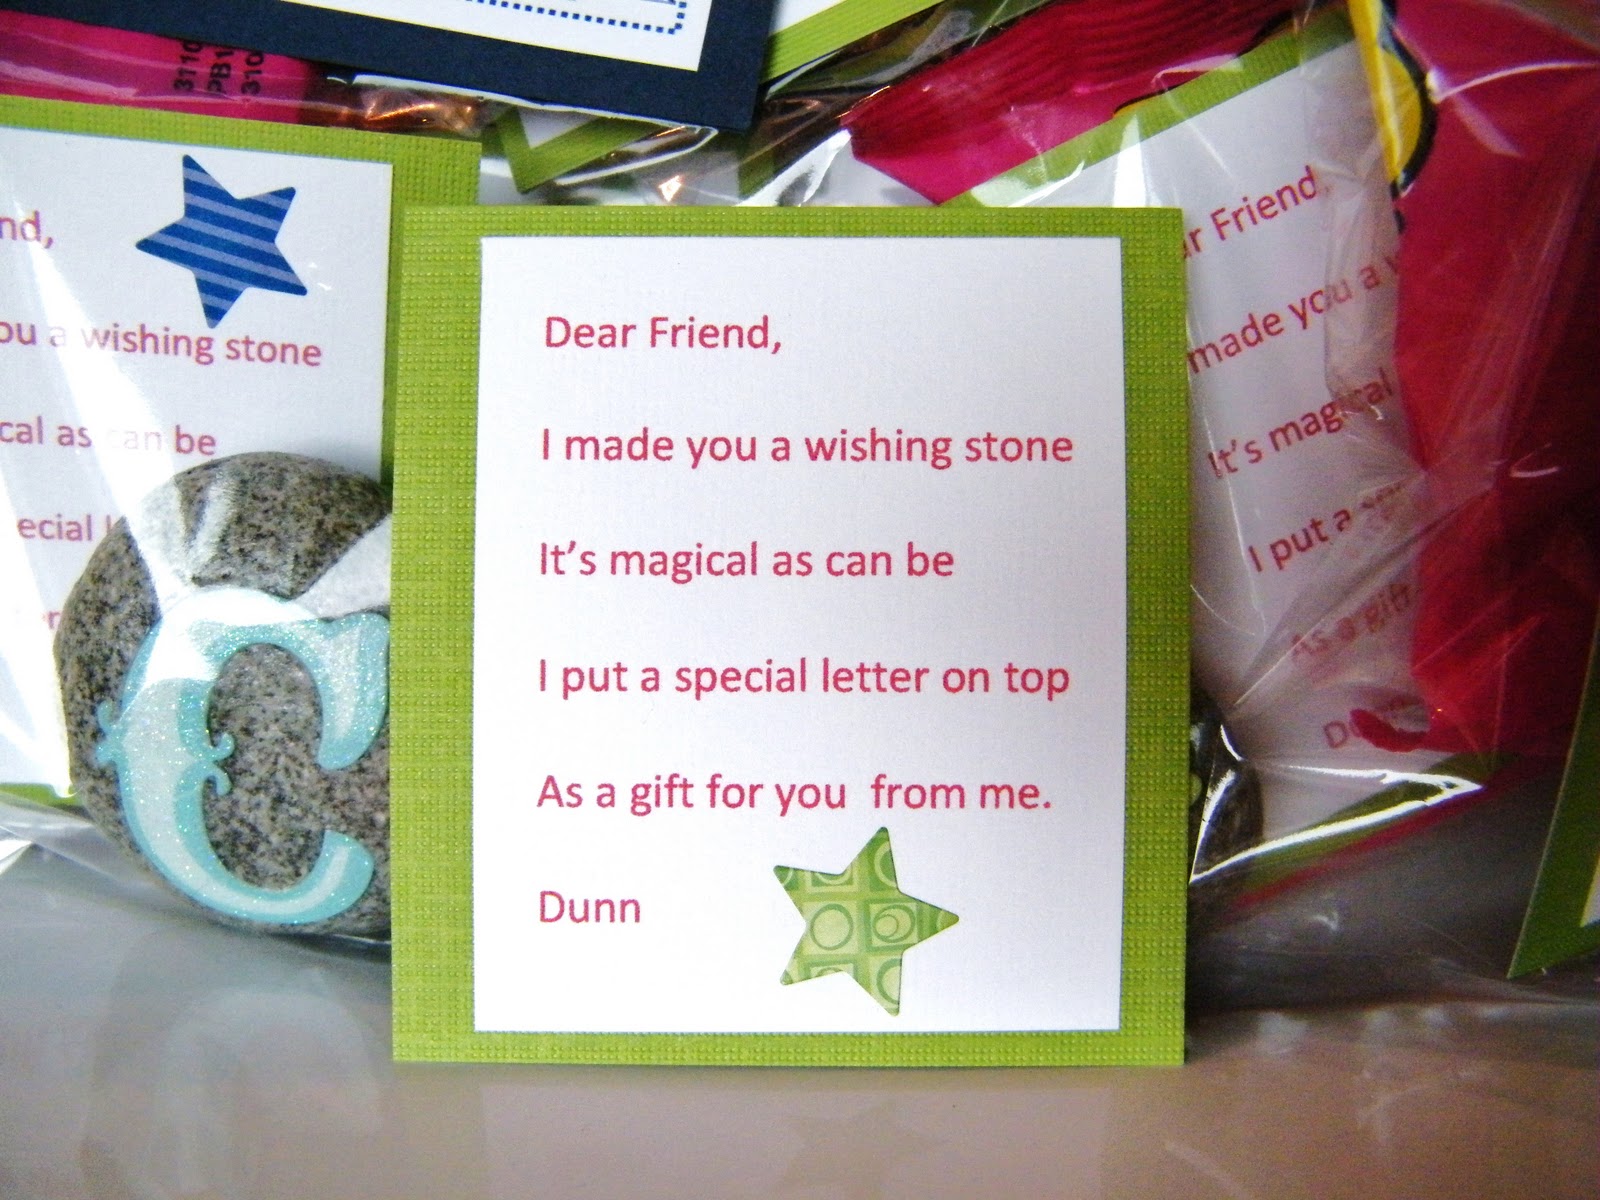
The real Mom labour came into play with the packaging. I decided that there needed to be a little note to accompany each wishing stone so that the recipient would know what it was. Above is Ellas note. They turned out so sweet. I printed the poem onto card stock, cut them out, then added a little highlighting to the edges of the paper pieces with ColorBox Chalk Pigment. Ella helped me glue all the pieces together over a couple of days.
Ella took great joy in stuffing her treat sacks with the stone, poem and a little bag of conversation hearts. She was quite proud of the finished project and eager to take them to school.
Dunn thought Ella's Poem was too girly so we changed the words up a bit. However, the concept was the same. On this one I did all the cutting and gluing (I was running low on patience) and Dunn did the stickers.
Dunn wanted a Robot theme for his packaging so this is what I came up with.
He too had a fantastic time stuffing his treat bags and was a great sport about all of the name writing. What I loved is that I had almost everything needed for this project on hand. The rocks did require two trips to the shore which is part of our normal lives. I had lots of left over letters from scrap booking that might never have been used. All the paper and treat bags were on hand too. The only things I purchased were the star stickers and the candy. I love it when I can use up some of things I already have from other projects. Makes me feel a little thrifty!
Happy Post Valentines Day!
S~