
Its a challenge to come up with Mothers Day projects for kids to make that is something other than their hand print. Hand prints are darling and I do love all those tiny fingers and wrinkles and what not. But after turkey hand prints and angel hand prints and tree hand prints I am ready for something a little different. This year with my sons kindergarten class we are making bracelets (no colored macaroni in sight!).
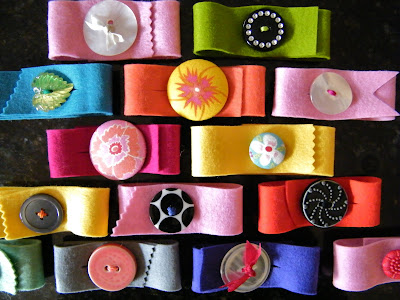
This is such an easy project with absolutely darling results. The kids loved making them, the materials are easy to come by and its a relatively speedy project. Working with one child at a time I was able to do 13 of the 26 children in about 1.5 hours.
Tutorial
For materials you will need:
Wool Felt ~ I think the wool ups the aesthetics of this project and makes it feel special.
Buttons ~ I used shank buttons, buttons with holes and self made fabric covered buttons too. Mainly in the 1 inch size. Bigger is better!

Sewing Needles ~ I used large eyed blunt tip needles for several reasons. I wanted to minimize the stick factor and I wanted them to be easy to thread.
Thread ~ I gave the children the choice between embroidery floss and seam binding ribbon (vintage style) depending on the style of button they picked out.

Tools ~ Sharp Scissors, Pinking Shears, Rotary Cutter, Straight Edge, Cutting Mat, Brad Hole Punch
 My Process:
Step one: Let the child pick their button first
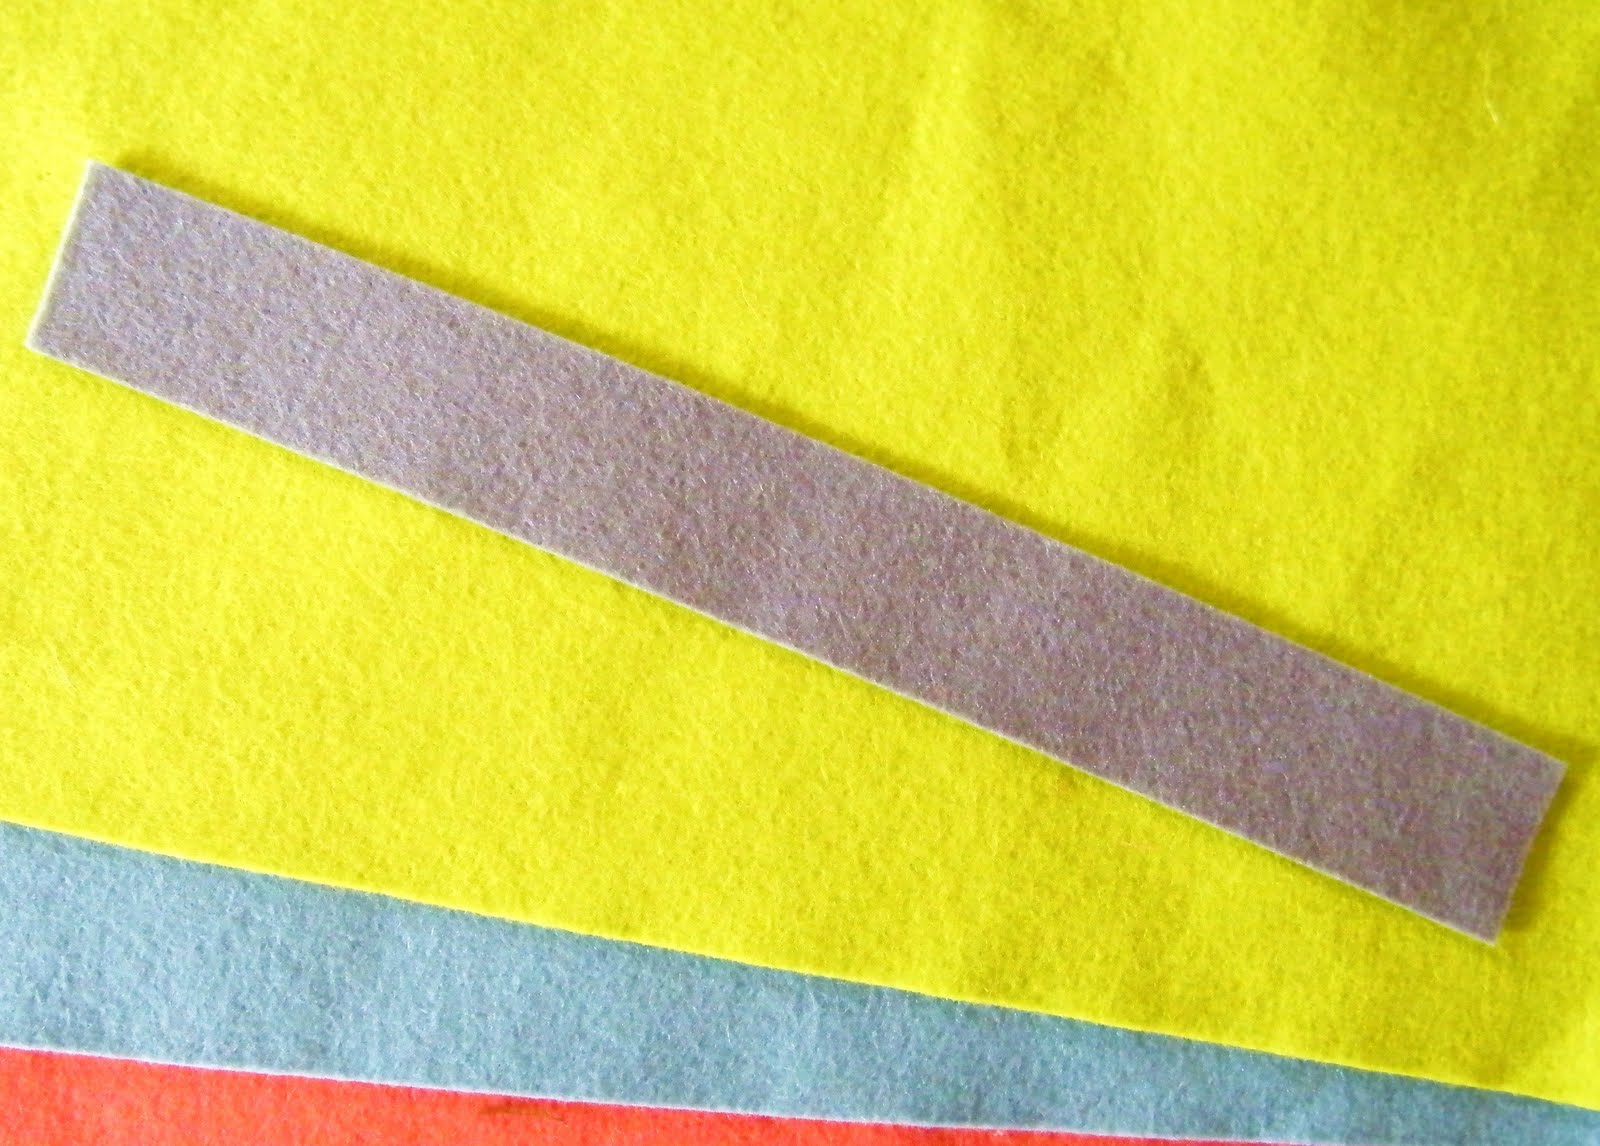
Step two: Let the child pick the felt color
I pre-cut some of the felt in the colors that I thought the children were most likely to pick to cut down on time. They could also pick from all the colors I had with me. Using my rotary cutter, cutting mat and straight edge I cut my felt to 1.25 inches X 10 inches.
 Step Three: If the child selected a shank button (the hole is on a stem on the back of the button) or one with four holes I let them choose the color floss they wanted to use and helped them thread the needle. If they picked a two hole plain button I gave them the option to sew it on using vintage style seam binding ribbon to make it a bit fancier.
***I made a point to make the knot on the floss large and keep a tail of several inches after the knot to make tying it off easier at the end.
Step Four: Using my brad hole punch I put holes in the felt to make sewing easier and neater for the kids. Not necessary, but a nice touch if you have this tool already.
 Keep the button about an inch away from the end of the bracelet. That way when you cut the slit for the button felt with show through the slit and not skin.
 Step Five: Let them sew away! Start from the back of the bracelet when sewing with floss. Start from the front of the button when sewing with seam binding. Tie off your floss on the back of the bracelet and trim floss so that it doesn't hang over the edge of the felt. Knot seam binding on the front of the button and trim ends in a V shape to prevent unraveling.
 Step Six: Cut the button hole (slit). I tried to make the bracelets 8 inches around with my hole placement. Make the slit slightly smaller than the button. You can always make it bigger but you can't make it smaller once you have cut it.
 Fold over the tail end of the felt and using sharp scissors cut your slit. *** Remember that if you cut 1/2 and inch you have just made a 1 inch whole because the felt is folded.
  Trim the end of the bracelet into a shape or using pinking shears if the child desires.
 Happy Mothers Day!
Sonja
Ps: I will come back this evening and add a little link love to this post to show you can purchase similar supplies!

This is such an easy project with absolutely darling results. The kids loved making them, the materials are easy to come by and its a relatively speedy project. Working with one child at a time I was able to do 13 of the 26 children in about 1.5 hours.
Tutorial
For materials you will need:
Wool Felt ~ I think the wool ups the aesthetics of this project and makes it feel special.
Buttons ~ I used shank buttons, buttons with holes and self made fabric covered buttons too. Mainly in the 1 inch size. Bigger is better!

Sewing Needles ~ I used large eyed blunt tip needles for several reasons. I wanted to minimize the stick factor and I wanted them to be easy to thread.
Thread ~ I gave the children the choice between embroidery floss and seam binding ribbon (vintage style) depending on the style of button they picked out.

Tools ~ Sharp Scissors, Pinking Shears, Rotary Cutter, Straight Edge, Cutting Mat, Brad Hole Punch

Step one: Let the child pick their button first
Step two: Let the child pick the felt color
I pre-cut some of the felt in the colors that I thought the children were most likely to pick to cut down on time. They could also pick from all the colors I had with me. Using my rotary cutter, cutting mat and straight edge I cut my felt to 1.25 inches X 10 inches.
***I made a point to make the knot on the floss large and keep a tail of several inches after the knot to make tying it off easier at the end.
Step Four: Using my brad hole punch I put holes in the felt to make sewing easier and neater for the kids. Not necessary, but a nice touch if you have this tool already.


 Fold over the tail end of the felt and using sharp scissors cut your slit. *** Remember that if you cut 1/2 and inch you have just made a 1 inch whole because the felt is folded.

Sonja
Ps: I will come back this evening and add a little link love to this post to show you can purchase similar supplies!

Sonja, what a terrific project! You and the kids are going to make some moms very happy this year! I will file this away to try for my son's kindergarten class next year. I especially love the ideas of pre-punching the holes for the buttons and using the vintage seam binding tied on top. Really lovely!
ReplyDeleteThat's absolutely adorable! Definitely will pass this one on to my daughter to make for her friends (and maybe one for her mom!).
ReplyDelete-teresa
I just got a big pack of her felt in the mail today. It's lovely. It's mainly small squares, but maybe I can sacrifice some of one of the sheets I got for these for the grandmothers.
ReplyDeleteThese are darling amd I did a posting on craft gossip felting. Please stop by and leave a comment :) http://felting.craftgossip.com/2011/05/06/mother%e2%80%99s-day-felt-bracelet-tutorial/
ReplyDeleteLove this idea. So cute and sweet.
ReplyDeleteI just started a linky party this past Tuesday. It was a great success with over 50 link ups! I would love it if you would participate next week! It's called $10 Tuesdays and it's for things that cost less than $10 and take 20-30 mins (ish) to complete. I love inexpensive and quick projects and I'm guessing others will too ;) Thanks so much for considering.
Tina
http://sweetfloweret.blogspot.com/
PS. I'm GIVING away 50 button pony tailers this month! Come visit and claim yours ;)
LOVE this! Cutest kids' craft for Mother's Day ever! I think I'll make one for myself, by myself! :)
ReplyDeletelove the bright colours used :o)
ReplyDeleteThese are so adorable!
ReplyDeleteThanks : )
DeleteI enjooyed reading your post
ReplyDelete