Its a challenge to come up with Mothers Day projects for kids to make that is something other than their hand print. Hand prints are darling and I do love all those tiny fingers and wrinkles and what not. But after turkey hand prints and angel hand prints and tree hand prints I am ready for something a little different. This year with my sons kindergarten class we are making bracelets (no colored macaroni in sight!).
This is such an easy project with absolutely darling results. The kids loved making them, the materials are easy to come by and its a relatively speedy project. Working with one child at a time I was able to do 13 of the 26 children in about 1.5 hours.
Tutorial
For materials you will need:
Wool Felt ~ I think the wool ups the aesthetics of this project and makes it feel special.
Buttons ~ I used shank buttons, buttons with holes and self made fabric covered buttons too. Mainly in the 1 inch size. Bigger is better!
Sewing Needles ~ I used large eyed blunt tip needles for several reasons. I wanted to minimize the stick factor and I wanted them to be easy to thread.
Thread ~ I gave the children the choice between embroidery floss and
seam binding ribbon (vintage style) depending on the style of button they picked out.
Tools ~ Sharp Scissors, Pinking Shears, Rotary Cutter, Straight Edge, Cutting Mat, Brad Hole Punch
My Process:
Step one: Let the child pick their button first
Step two: Let the child pick the
felt color
I pre-cut some of the felt in the colors that I thought the children were most likely to pick to cut down on time. They could also pick from all the colors I had with me. Using my rotary cutter, cutting mat and straight edge I
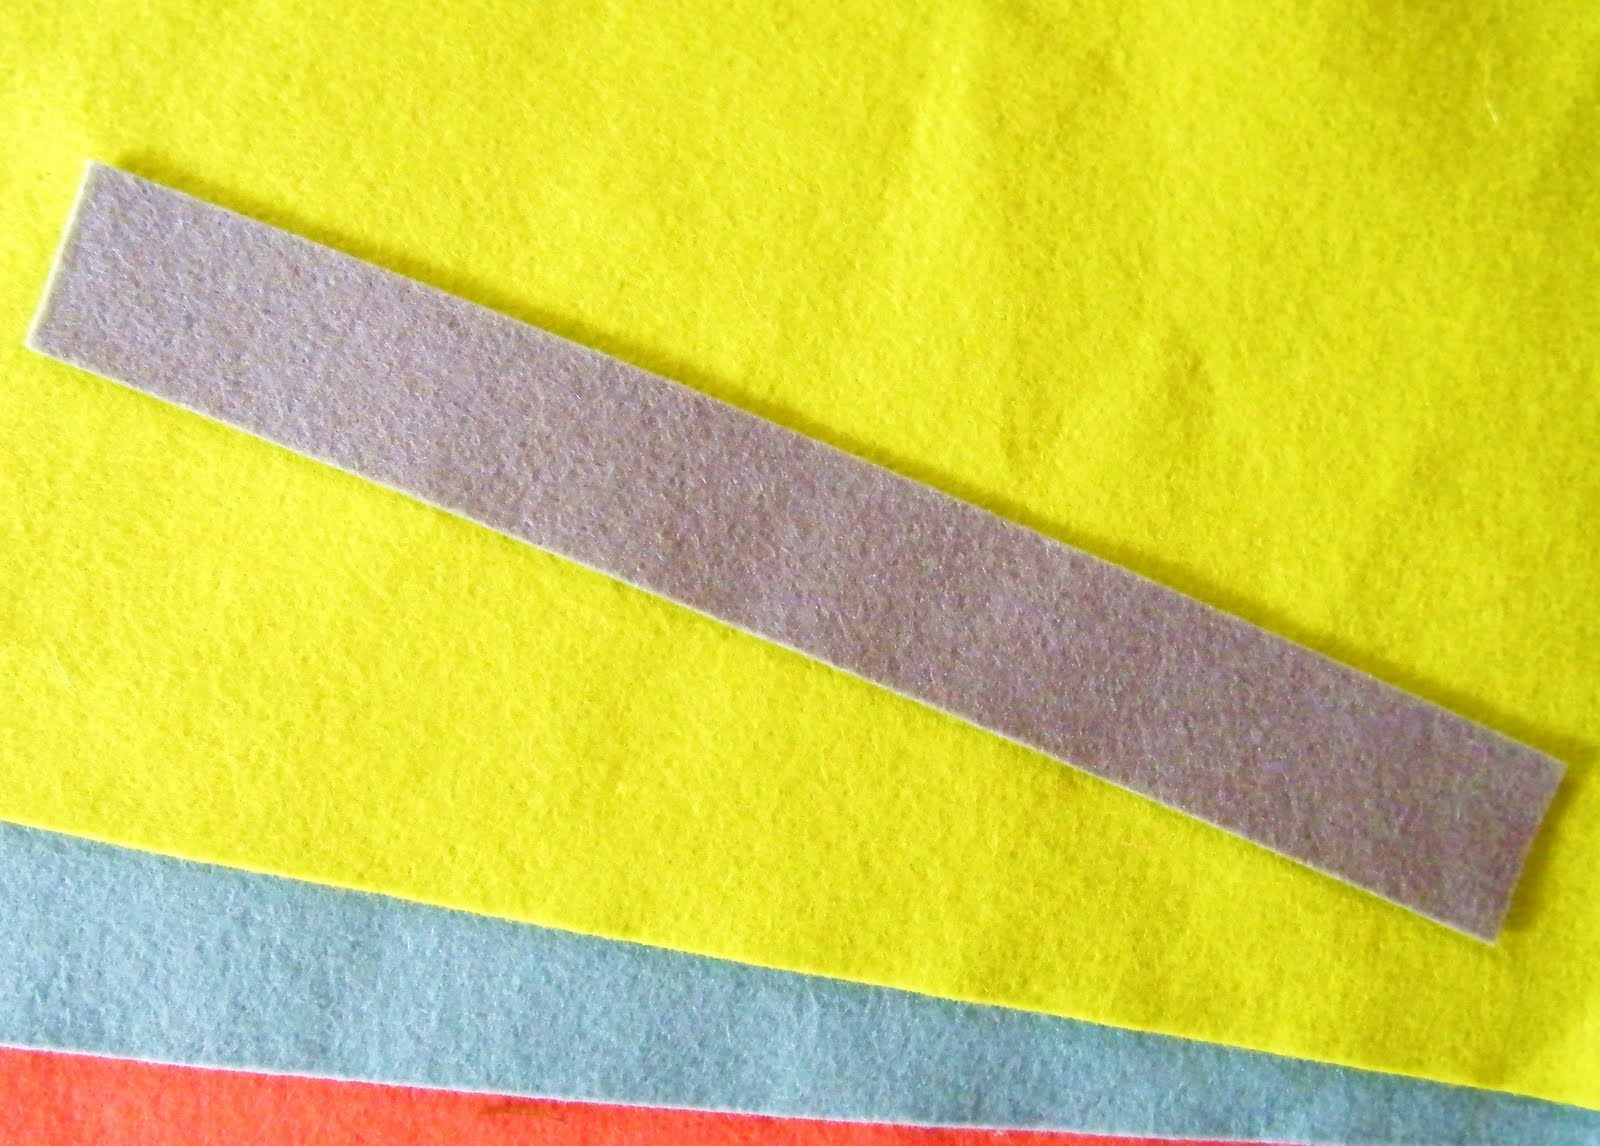
cut my felt to 1.25 inches X 10 inches.
Step Three: If the child selected a shank button (the hole is on a stem on the back of the button) or one with four holes I let them choose the color floss they wanted to use and helped them thread the needle. If they picked a two hole plain button I gave them the option to sew it on using vintage style seam binding ribbon to make it a bit fancier.
***I made a point to make the knot on the floss large and keep a tail of several inches after the knot to make tying it off easier at the end.
Step Four: Using my brad hole punch I put holes in the felt to make sewing easier and neater for the kids. Not necessary, but a nice touch if you have this tool already.
Keep the button about an inch away from the end of the bracelet. That way when you cut the slit for the button felt with show through the slit and not skin.
Step Five: Let them sew away! Start from the back of the bracelet when sewing with floss. Start from the front of the button when sewing with seam binding. Tie off your floss on the back of the bracelet and trim floss so that it doesn't hang over the edge of the felt. Knot seam binding on the front of the button and trim ends in a V shape to prevent unraveling.
Step Six: Cut the button hole (slit). I tried to make the bracelets 8 inches around with my hole placement. Make the slit slightly smaller than the button. You can always make it bigger but you can't make it smaller once you have cut it.

Fold over the tail end of the felt and using sharp scissors cut your slit. *** Remember that if you cut 1/2 and inch you have just made a 1 inch whole because the felt is folded.
Trim the end of the bracelet into a shape or using pinking shears if the child desires.
Happy Mothers Day!
Sonja
Ps: I will come back this evening and add a little link love to this post to show you can purchase similar supplies!

 Thanks to woodworking plans by Ana White and a long holiday weekend my hubby and I were able to build and sand this 36x 72 inch table in about 10 hours. The hardest part was waiting for stain, paint and poly coats to dry. The finishing of the table took me about 2 additional days.
 We used a cross between the Ana White Rustic Table and the Farm House Table. Our wood was just common pine from Home Depot. I think the 4x4's are actually some other kind of wood. Not sure.
 I used two coats of stain after a coat of wood conditioner. The first was Minwax English Chestnut. It made the wood far to red. Then I put a coat of Minwax Provincial over it and that worked pretty well on the top and apron. However the legs just did not accept the stain the same way. So in the end I painted the legs and apron. Which was actually what I really wanted. Hubby did not : ) The legs and apron are painted in a flat paint which I will wax today.

 I will change the plans a little bit as these will be used inside. I will also be making covers and cushions for the tops of the benches. Like these from Coastal Living Magazine.




 I have been working on a couple of owl patterns for felt. One to sell in my shop and the other for potential publication in a crafty book for Spring 2010. Creating
 I love projects like this owl which use up all kinds of little crafty scraps. Crafty scraps accumulate at my house like crazy. It's like they get together when I am sleeping and reproduce. I also spent some time today sourcing wool felt for owl kits that I would like to put together for the fall. Finding wholesale