Its a challenge to come up with Mothers Day projects for kids to make that is something other than their hand print. Hand prints are darling and I do love all those tiny fingers and wrinkles and what not. But after turkey hand prints and angel hand prints and tree hand prints I am ready for something a little different. This year with my sons kindergarten class we are making bracelets (no colored macaroni in sight!).
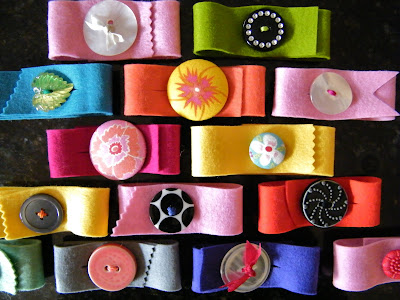
This is such an easy project with absolutely darling results. The kids loved making them, the materials are easy to come by and its a relatively speedy project. Working with one child at a time I was able to do 13 of the 26 children in about 1.5 hours.
Tutorial
For materials you will need:
Wool Felt ~ I think the wool ups the aesthetics of this project and makes it feel special.
Buttons ~ I used shank buttons, buttons with holes and self made fabric covered buttons too. Mainly in the 1 inch size. Bigger is better!

Sewing Needles ~ I used large eyed blunt tip needles for several reasons. I wanted to minimize the stick factor and I wanted them to be easy to thread.
Thread ~ I gave the children the choice between embroidery floss and seam binding ribbon (vintage style) depending on the style of button they picked out.

Tools ~ Sharp Scissors, Pinking Shears, Rotary Cutter, Straight Edge, Cutting Mat, Brad Hole Punch
 My Process:
Step one: Let the child pick their button first
Step two: Let the child pick the felt color
I pre-cut some of the felt in the colors that I thought the children were most likely to pick to cut down on time. They could also pick from all the colors I had with me. Using my rotary cutter, cutting mat and straight edge I cut my felt to 1.25 inches X 10 inches.
 Step Three: If the child selected a shank button (the hole is on a stem on the back of the button) or one with four holes I let them choose the color floss they wanted to use and helped them thread the needle. If they picked a two hole plain button I gave them the option to sew it on using vintage style seam binding ribbon to make it a bit fancier.
***I made a point to make the knot on the floss large and keep a tail of several inches after the knot to make tying it off easier at the end.
Step Four: Using my brad hole punch I put holes in the felt to make sewing easier and neater for the kids. Not necessary, but a nice touch if you have this tool already.
 Keep the button about an inch away from the end of the bracelet. That way when you cut the slit for the button felt with show through the slit and not skin.
 Step Five: Let them sew away! Start from the back of the bracelet when sewing with floss. Start from the front of the button when sewing with seam binding. Tie off your floss on the back of the bracelet and trim floss so that it doesn't hang over the edge of the felt. Knot seam binding on the front of the button and trim ends in a V shape to prevent unraveling.
 Step Six: Cut the button hole (slit). I tried to make the bracelets 8 inches around with my hole placement. Make the slit slightly smaller than the button. You can always make it bigger but you can't make it smaller once you have cut it.
 Fold over the tail end of the felt and using sharp scissors cut your slit. *** Remember that if you cut 1/2 and inch you have just made a 1 inch whole because the felt is folded.
  Trim the end of the bracelet into a shape or using pinking shears if the child desires.
 Happy Mothers Day!
Sonja
Ps: I will come back this evening and add a little link love to this post to show you can purchase similar supplies!

This is such an easy project with absolutely darling results. The kids loved making them, the materials are easy to come by and its a relatively speedy project. Working with one child at a time I was able to do 13 of the 26 children in about 1.5 hours.
Tutorial
For materials you will need:
Wool Felt ~ I think the wool ups the aesthetics of this project and makes it feel special.
Buttons ~ I used shank buttons, buttons with holes and self made fabric covered buttons too. Mainly in the 1 inch size. Bigger is better!

Sewing Needles ~ I used large eyed blunt tip needles for several reasons. I wanted to minimize the stick factor and I wanted them to be easy to thread.
Thread ~ I gave the children the choice between embroidery floss and seam binding ribbon (vintage style) depending on the style of button they picked out.

Tools ~ Sharp Scissors, Pinking Shears, Rotary Cutter, Straight Edge, Cutting Mat, Brad Hole Punch

Step one: Let the child pick their button first
Step two: Let the child pick the felt color
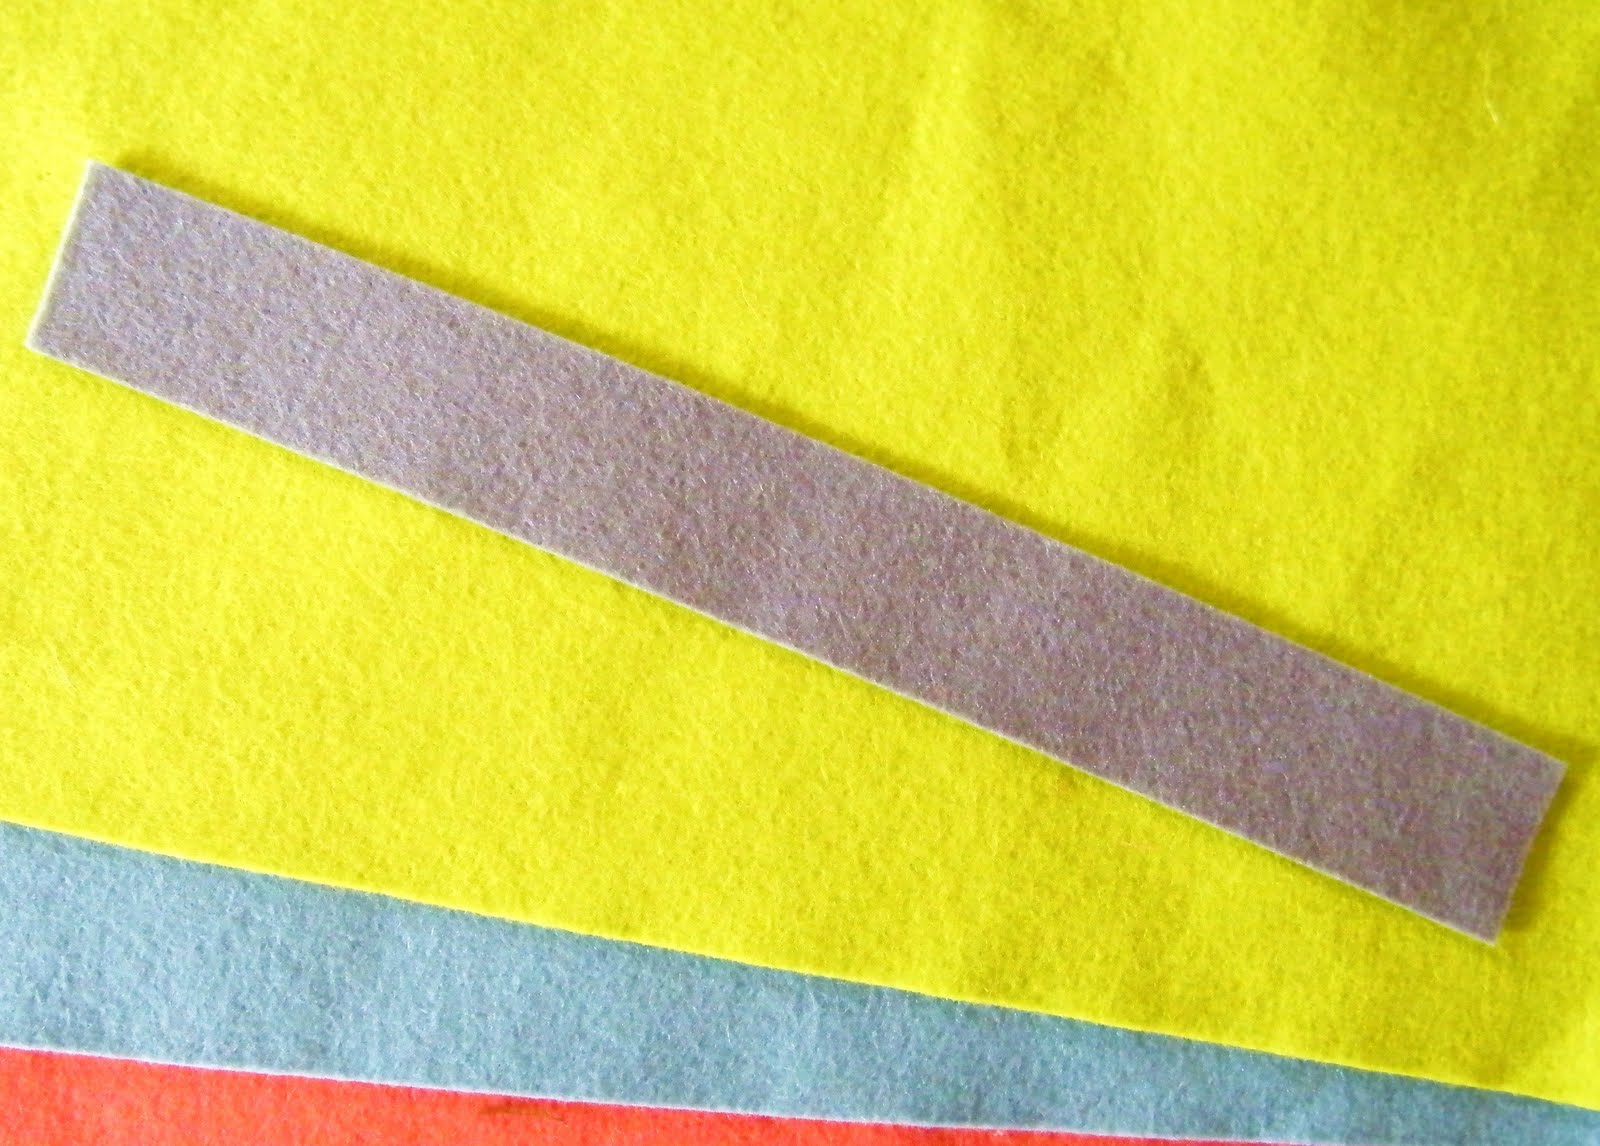
I pre-cut some of the felt in the colors that I thought the children were most likely to pick to cut down on time. They could also pick from all the colors I had with me. Using my rotary cutter, cutting mat and straight edge I cut my felt to 1.25 inches X 10 inches.
***I made a point to make the knot on the floss large and keep a tail of several inches after the knot to make tying it off easier at the end.
Step Four: Using my brad hole punch I put holes in the felt to make sewing easier and neater for the kids. Not necessary, but a nice touch if you have this tool already.


 Fold over the tail end of the felt and using sharp scissors cut your slit. *** Remember that if you cut 1/2 and inch you have just made a 1 inch whole because the felt is folded.

Sonja
Ps: I will come back this evening and add a little link love to this post to show you can purchase similar supplies!

 I love to make simple hair accessories for my girls from scraps of fabric leftover from sewing projects. They make great birthday favors, present toppers and little gifts for friends and family too. This summer a friends daughter is the flower girl in a wedding and I agreed to whip her up some slides for her up do. One of the fabrics that the bride is using to punch up things a bit is a turquoise gingham. This fabric is the sash on the flower girls dress. So I thought it would be sweet to make some reversible flowers for the child's hair. I also have an overwhelming urge to make a zillion of the flowers for the little girl to drop as she walks down the aisle instead of real petals. The pattern and color almost makes me swoon at the thought!
 Step 1. Iron your fabric scraps so that they are wrinkle free.
 Step 2. Cut a piece of Trans-Web off the roll slightly smaller than your fabric scraps. Then following the directions on the Trans-Web or whatever double sided fusible web you choose iron it to the wrong side of your 1st piece of fabric.
  Step 3. Peel off the clear backing exposing the glue
 Step 4. Now place this fabric with it's glue side down on the wrong side of your second piece of fabric. Making a fabric sandwich with the good sides of the fabric showing. Iron the two pieces together following the directions on the package .
 Step 5. I like to trim the scraps down at this point so that I only have fabric that is bonded together.
 Step 6. Trace around your flower template using a disappearing fabric marker. Test the marker on a scrap to make sure it will indeed disappear. I find that on all cotton fabric the marker disappears quickly but on poly-cotton blends it can take a couple hours.
 Step 7 & 8. Using very sharp scissors cut the flower out. To make the holes for the bobby pin to go through I use a very sharp and pointy pair of cuticle scissors. I have also used a brad hole punch from my scrap booking supplies and a toothpick. The scissors and the toothpick work the best. Punch two small holes near the center of the flower with the tip of the scissors.
  Step 9. Thread the tips of the bobby pin through the two holes you just made.
 There are many shapes you could use instead of flowers. Just about anything that can be viewed in silhouette would be perfect for these. butterflies, dragon flies, rabbits and of course lots of different shaped flowers. Have fun!
 Here are the templates that I have recently used.