Showing posts with label kids. Show all posts

Friday, March 23, 2012

Lego Display

Re-purposing Vintage 35mm slide boxes into Lego Minifig display cases or travel boxes.
 I cut heavy card stock (think cereal box thick) to make the shelves.  You could use 35mm slides if you have some around the house.  I then dug through the boy's Lego tubs and fit together enough pieces to fill the lid.  This was actually really fun!  Kind of like solving a puzzle.  I held the pieces in the lid with glue dots so that they could be removed easily. This is fine for display but glue may be in order for actual play.

This stack of three 35mm slide boxes can be found in my Etsy store.  There are many single cases available on both Etsy & Ebay.  Search for  metal Brumberger 35 mm slide boxes.

As I worked on this Lego display case I started thinking of other things that could be displayed.  Vacation photos held up with magnets (yep.  magnets stick like a charm) on the lid and trinkets, shells or other small mementos on the shelves.  So much potential!  I hung my box on a single galvenized nail.  I love the industrial simplicity of using these boxes for display. 

Friday, August 26, 2011

Fall sewing

It never ceases to amaze how when I sit down to sew something kinda hard how easily my sewing comes together.  And when I sew something that could be constructed in my sleep I end up ripping out seam after simple seam.  Why is that?

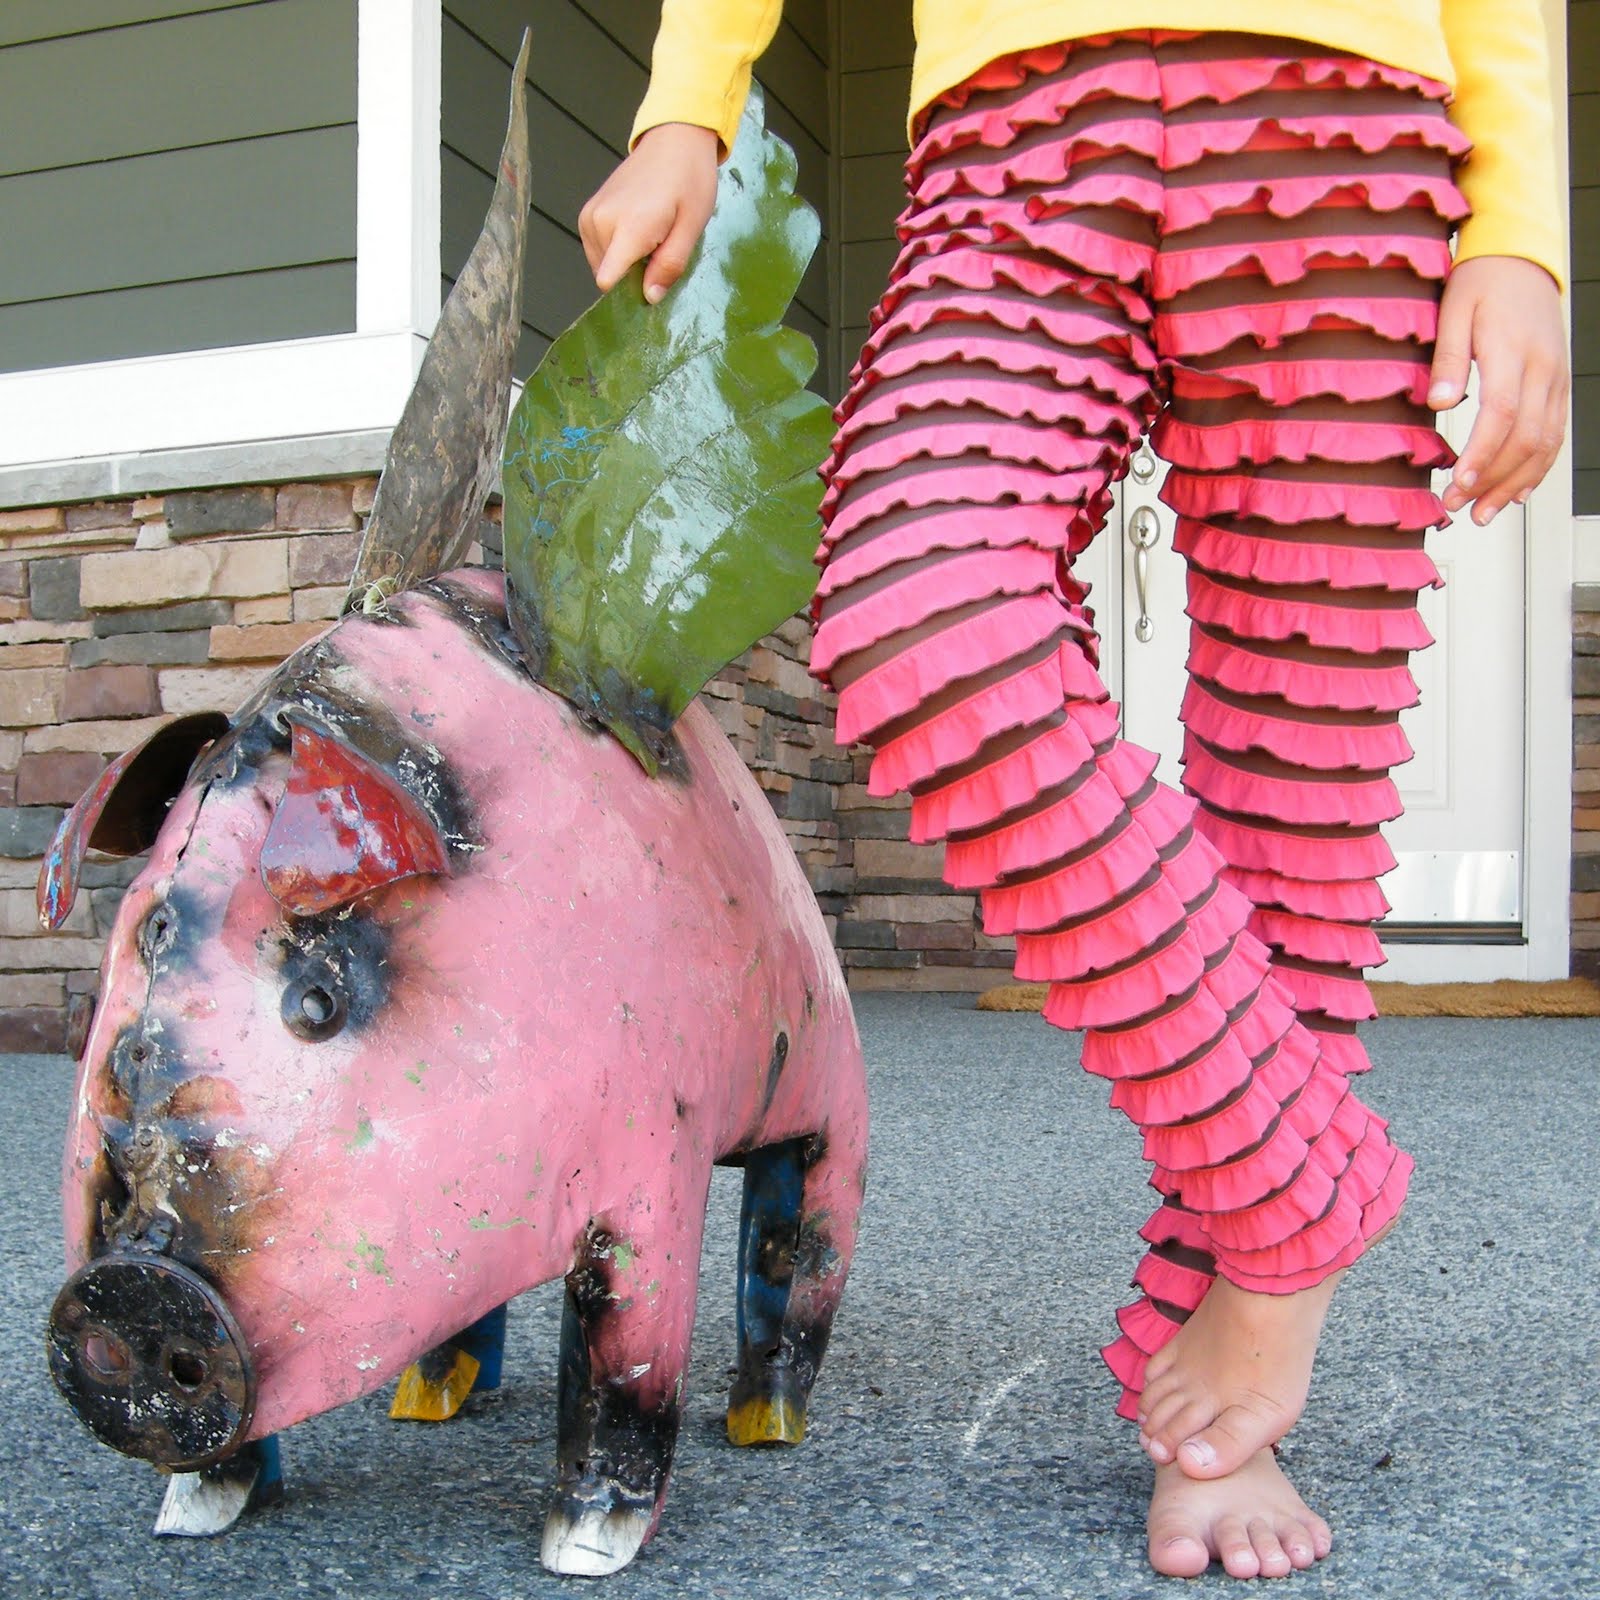
I have a very simple tunic for Ella that I have given up on (no photo).  It was meant to go with these legging.
The leggings turned out darling even though I was really starting to hate this fabric.  They were no joy to cut out and sew but I love those ruffle legs a bunch.  The tunic is a darling owl print.  Ruffles and owls.  It was going to be cute I tell you.  For now I am going to put the tunic down and walk away. 

My other successful project this week was a pair of cute corduroy winter shorts for Soren.  She loves to wear shorts over thick wool tights or leggings with boots in the winter.  So she requested a pair for back to school.


Excuse my lint!  What a joy these were to sew.  The pattern is from Japanese Pattern Book ISBN 978452904163.  I wouldn't say the pattern was easy to understand but in true Japanese style all the pieces did fit perfectly together.  It just took me a bit to puzzle through the construction. 

There is a problem with them however.  Too short!  I think my fix is going to be to take off the narrow leg binding and add at least a 1.5 inch binding...maybe 2 inches to be safe.  Soren loves them so much that I will make another pair making sure to adjust the length.  I also think this would translate really well into a skirt.  That's on the sewing list too.

Happy Sewing!
Sonja

Thursday, April 28, 2011

Sewing Something

Well...I sewed something.  And I must say getting one project complete has sort of lifted my sewing block.  I feel freed and less fretful.  There are possibilities once again.  It was too cool and rainy yesterday to have the wee Ms. Ella step out side for a photo op.  I'll photograph the top on her when I complete the pants I have planned.


Fabric: Heather Ross Tadpoles gifted to moi by this lovely lady.
Trim: Vintage rick rack in the most perfect shade of green ever! and jersey also in the most perfect shade of green ever!
Pattern:  Let's Go Out Girls Clothes ~ Japanese Pattern Book purchased here.

For the pants I will be using Burda Kids 9519 view B.  I can not tell you how much I love these pants!  My only moment of hesitation is that I will be using the green knit jersey from the above top.  This pattern calls for a woven.  I wonder is some of the gathering detail on the pant legs will be lost by the drape of the jersey. 
Photo

Last night I played around with a Marfy Pattern.  So the no directions or seam allowances part is a problem.  I cut out a practise run without adding any and it looks like its worth the effort.  Cross your fingers for me : )
Cheers!
Sonja
PS: My Farbenmix Pattern Giveaway is here : )

Tuesday, April 26, 2011

Mothers Day Bracelet Tutorial

Its a challenge to come up with Mothers Day projects for kids to make that is something other than their hand print.  Hand prints are darling and I do love all those tiny fingers and wrinkles and what not.  But after turkey hand prints and angel hand prints and tree hand prints I am ready for something a little different.  This year with my sons kindergarten class we are making bracelets (no colored macaroni in sight!).


This is such an easy project with absolutely darling results.  The kids loved making them, the materials are easy to come by and its a relatively speedy project.  Working with one child at a time I was able to do 13 of the 26 children in about 1.5 hours.

Tutorial 
For materials you will need:
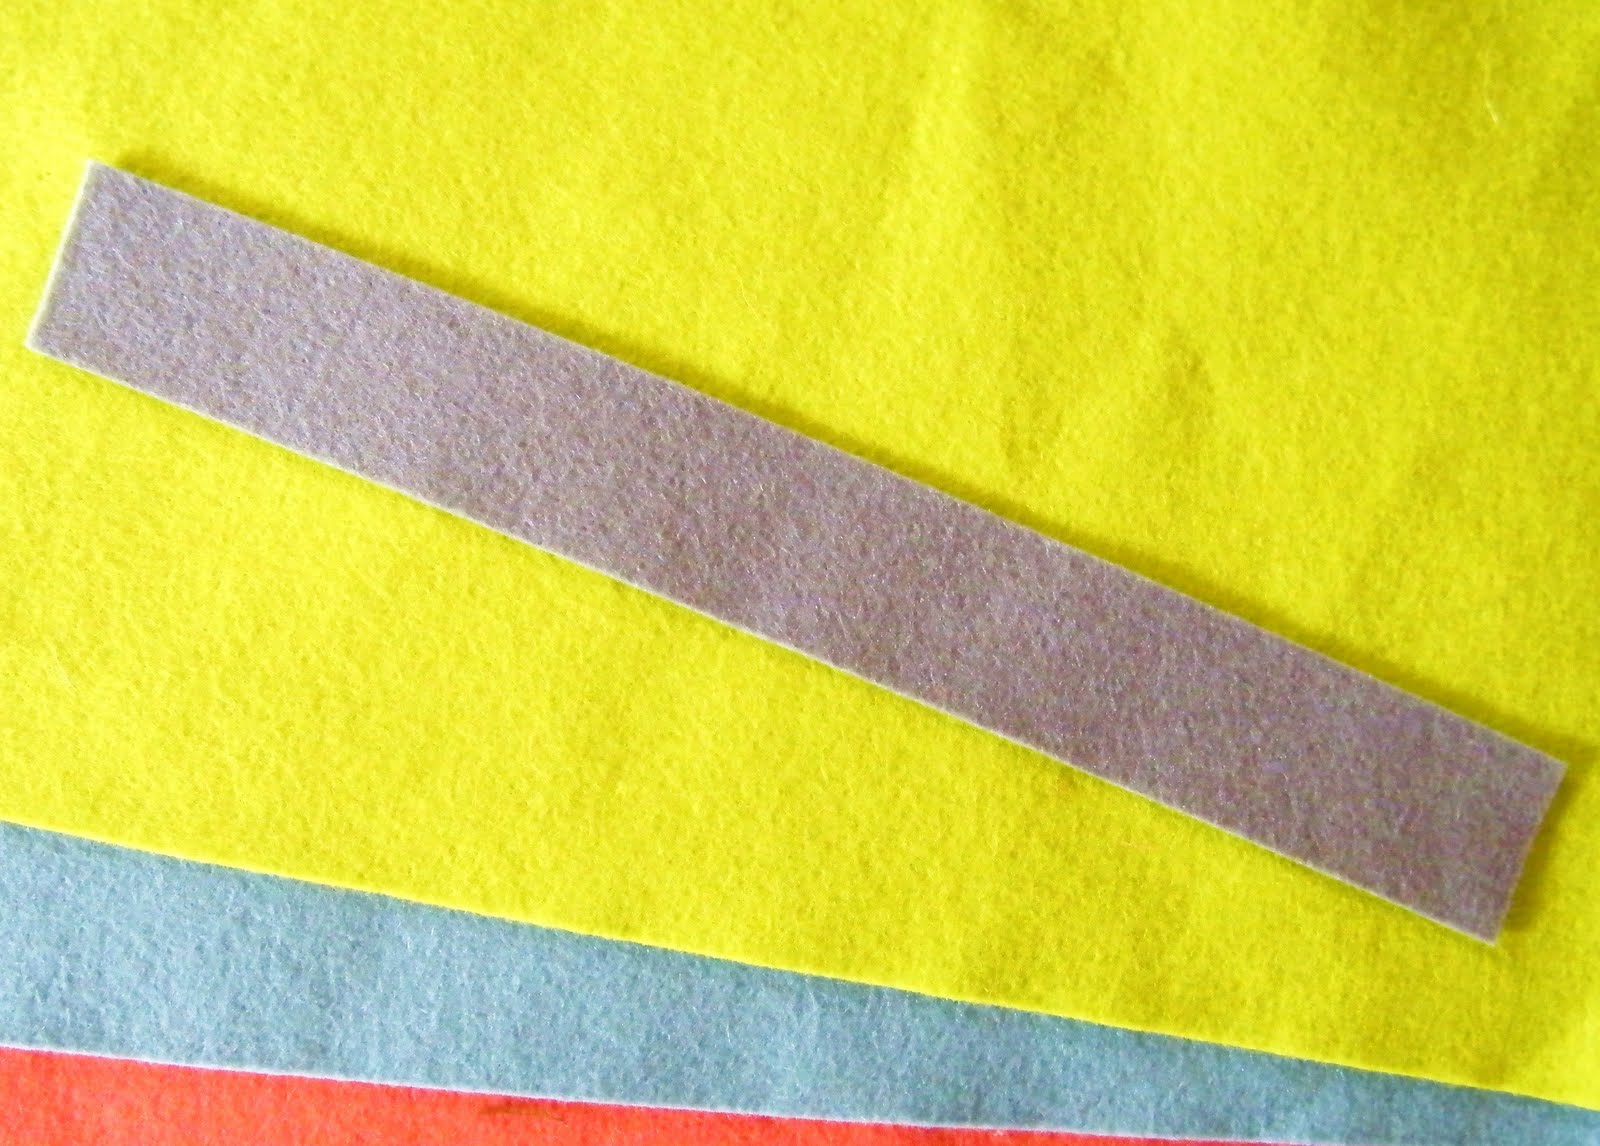
Wool Felt ~ I think the wool ups the aesthetics of this project and makes it feel special. 
Buttons ~  I used shank buttons, buttons with holes and self made fabric covered buttons too.  Mainly in the 1 inch size. Bigger is better!


Sewing Needles ~  I used large eyed blunt tip needles for several reasons.  I wanted to minimize the stick factor and I wanted them to be easy to thread.

Thread ~  I gave the children the choice between embroidery floss and seam binding ribbon (vintage style) depending on the style of button they picked out.


Tools ~ Sharp Scissors, Pinking Shears, Rotary Cutter, Straight Edge, Cutting Mat, Brad Hole Punch
My Process:
Step one:  Let the child pick their button first
 
Step two:  Let the child pick the felt color
I pre-cut some of the felt in the colors that I thought the children were most likely to pick to cut down on time. They could also pick from all the colors I had with me. Using my rotary cutter, cutting mat and straight edge I cut my felt to 1.25 inches X 10 inches. 
Step Three: If the child selected a shank button (the hole is on a stem on the back of the button) or one with four holes I let them choose the color floss they wanted to use and helped them thread the needle.  If they picked a two hole plain button I gave them the option to sew it on using vintage style seam binding ribbon to make it a bit fancier. 
***I made a point to make the knot on the floss large and keep a tail of several inches after the knot to make tying it off easier at the end.
 
Step Four:  Using my brad hole punch I put holes in the felt to make sewing easier and neater for the kids.  Not necessary, but a nice touch if you have this tool already.
Keep the button about an inch away from the end of the bracelet. That way when you cut the slit for the button felt with show through the slit and not skin. 
Step Five:  Let them sew away!  Start from the back of the bracelet when sewing with floss.  Start from the front of the button when sewing with seam binding. Tie off your floss on the back of the bracelet and trim floss so that it doesn't hang over the edge of the felt.  Knot seam binding on the front of the button and trim ends in a V shape to prevent unraveling.
Step Six:  Cut the button hole (slit).  I tried to make the bracelets 8 inches around with my hole placement.  Make the slit slightly smaller than the button.  You can always make it bigger but you can't make it smaller once you have cut it.
Fold over the tail end of the felt and using sharp scissors cut your slit.  *** Remember that if you cut 1/2 and inch you have just made a 1 inch whole because the felt is folded. 
Trim the end of the bracelet into a shape or using pinking shears if the child desires.
Happy Mothers Day!
Sonja
 
Ps: I will come back this evening and add a little link love to this post to show you can purchase similar supplies!

Sunday, April 17, 2011

Stash Busting Sunday

It was a good sewing day. 
Lots of scrap fabric used up.
My first hat ever successfully fitted and sewn....Yippie!


I love help pinning pattern pieces and cutting on the lines.
Sitting at the sewing machine with my cutie pie. 
Her weight heavy in my lap and heavier still on the sewing machine foot peddle.
I love sharing what I love doing with the ones I love.


It was a really great day.

Hat pattern: Vogue 8440
Cheers!
Sonja

Saturday, March 26, 2011

Run away with me

The best is yet to be.

This is the "Double Layer Skirt" from Ottobre 6/2008.  I was inspired to finally sew it after seeing these skirts here.  I would kill to have those Heather Ross equestrian prints as that would have made my horse loving Soren a happy camper.

The top layer fabric and trim was purchased from here.  The tiny dot fabric on the bottom was in my moms stash that I have since inherited.  I will be making another one of these soon as baby sister Ella apparently can not live without.

Happy Sewing!
S~

Monday, February 2, 2009

Super Bowl Sunday with kids

A darn near perfect day yesterday! Gorgeous weather, sunny and calm. A morning spent ice skating. And all three of the kids were actually happy to be on the ice. All Dunn wants to do is play hockey, have his own stick and be with the big boys. However, he is not particularly interested in all that comes between now and then. Namely the actually learning to skate part. We talked with other parents yesterday who assured us that one winter it just hits. They get how to do it and they don't want to stop. We are hopeful......

The little one is the one who enjoys it the most. She hums soft tunes to herself the entire time she is out there. When she gets tired she lays in the snow happily looking up at the sky. She is the first one to get her skates on and doesn't really want to take them off. Maybe there is something to be said for starting them early. Or maybe it's just a third born thing.

The rest of the afternoon was spent cleaning and cooking for our Super Bowl get together. We invited two families over who both have three children each. That is a lot of kids! I didn't get any pictures of the adults enjoying the game.
But I did get this picture with some of the children sitting in our bed watching Peter Pan. The rest were too little and one was too big. I can't ever imagine a day when my three little people will be too big for this! I want them to stay little forever. It's a slippery slope this growing up business. I tried to pick Soren up today and struggled to do it. Just about broke my heart in two. I had to sit on the couch and hold her tight so she couldn't grow anymore....at least for a minute. When I told her I didn't want her to get big she looked up at me with a twinkle in her eye and said " Mom, I am going to be you when I'm big". Then she scooted off my lap and skipped off to continue her growing up work and left me grinning like a crazy. A darn near perfect day!